Today we had our first introduction to lighting in the studio. We started off by looking at health and safety, as this is very important in the studio as there are lots of things to be conscious of- such as working at height or tripping over wires. Working at height is considered to be anything that is off the ground. If you're using a ladder/platform you must always have 3 points of contact- this is both your feet on the ladder/platform and one of your hands in contact with the ladder/platform or the rig. This is so that you are stable and also so that you can safely carry things up to height. Another major thing in the studio are electrical devices which can pose health and safety risk.You must always complete visual checks before plugging or unplugging anything - look for bare wires, wires not connected properly and broken parts. Another issue is overloading power sockets; while the studio is very suited for its purpose (as in you can't overload the power supply), when you are working on site you may be in a house and the sockets in a house aren't as powerful as those in the studio, so if you plug all the equipment in the studio into someones house you will definitely overload the power supply.
One final thing that causes problems is tripping up over wires. You need to think about where your wires are and make sure they have safe cable runs. If you're going to have your wires trailing right across the floor for long periods of time, it's best to tape the wires down so then no one will trip. Sometimes the shortest route to power is the most inconvenient as it won't be the neatest, so its best to take the longest route (going around the edge of the room with wires).
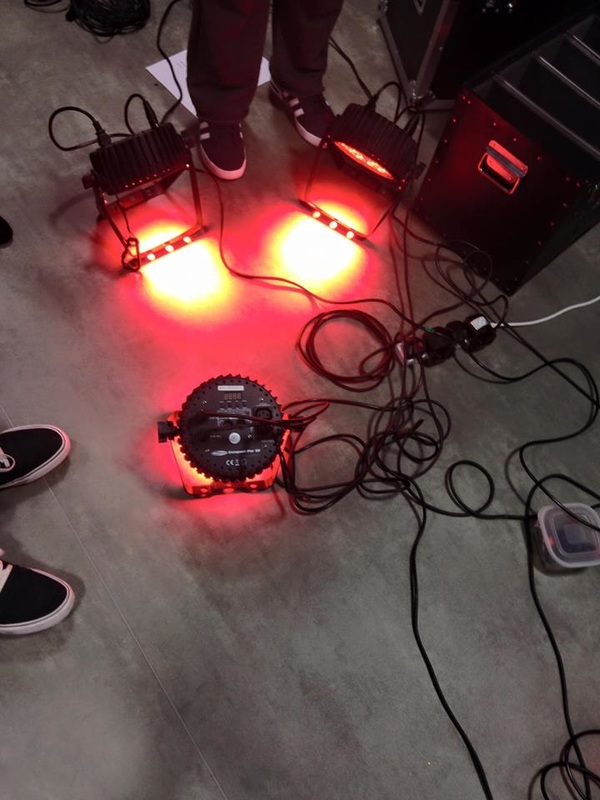
The next thing we looked at were the types of lights in the studio. The first lights we looked at were called LED Par Cams, these are very low power so they have a cool operation which means they don't generate much heat. This is a good thing, as if you are spending a long time in the studio you don't want to overheat from working under boiling hot lights. These lights are also RGB colour changeable DMX, what this means is that they can change colours digitally via a DMX cable which is linked to a computer.
The second lights we looked at were the LED Panels (which are also known as TVLs) these lights are low power like the LED Par Cams, so they also have a cool operation. These lights can also be battery operated which is very useful if you are wanting to use them in a location that doesn't have a mains power supply. The lights are Bi-colour changeable DMX which means that they switch between white daylight and yellow inside light. They produce a very soft light which can be made even softer by applying gels over the lights. What a soft light means is that the shadows that it casts are very soft, unlike those of a Fresnel light which I am moving onto next.
The Fresnel lights are very high power lights- you can actually hear the buzzing from the resistor. These lights operate very hot, so if you're using these in a small space, you will find that the room heats up very fast. These kinds of lights are your traditional theater lights. They're semi focusable with medium/ hard light. This means that the shadows cast by these lights can be very sharp and defined. The brightness of the lights can be changed via DMX.
Finally, we looked at Jr Profile Spot lights. These are similar to the Fresnel lights as they are high power, hot in operation and are dimable via DMX. however these lights only have a hard light, so the shadows cast will be very sharp. You can adjust the lights so that you can change the focus, what I mean here is that you can have a large spot of light or a tiny spot if you alter the filters on the light.
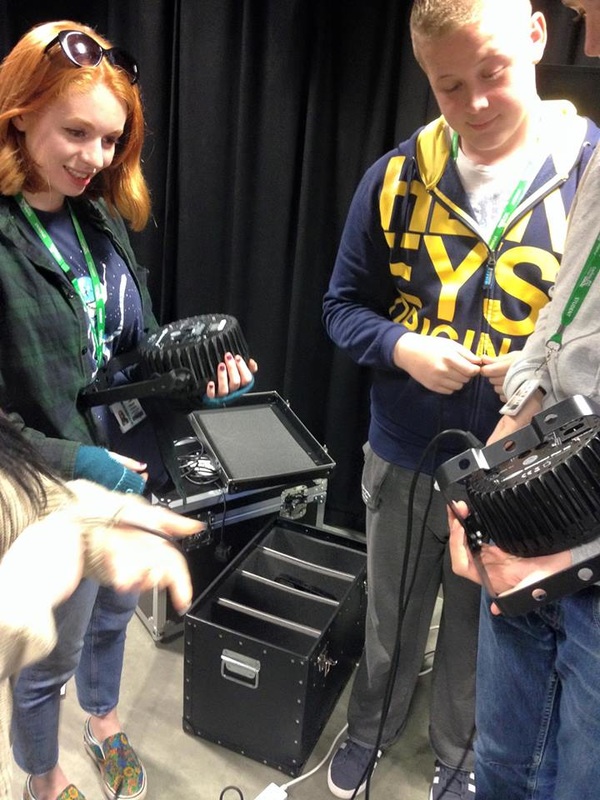
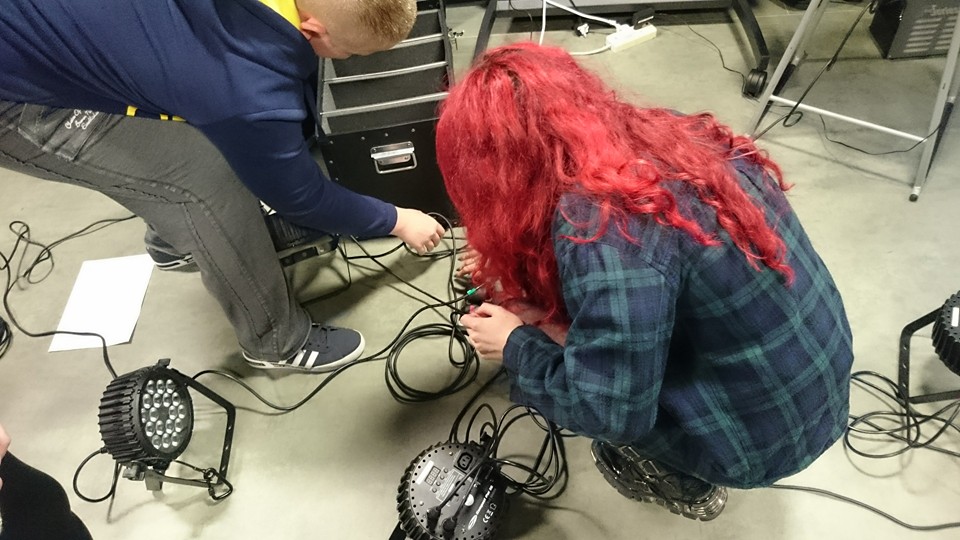
Once we had gone through how each light works and had seen it in action, we went off in groups to connect four LED Par Cams via daisy chain DMX. what this was, was linking the wires from input to output to make sure that all four lights were linked together. We then had to put power cables into the input ports on all of the lights so that they had power. You can do the same daisy chain technique with power, however we just didn't have the right cables at the time. On the back of the lights we had to program them so that they could be controlled by the DMX board so that we could change the colour and brightness and such. We had to select the 'D' mode (for DMX), and then we had to number them. On the DMX board you can only go up in sixes, so the first light was number 1, the second was 7, the third was 13 and the fourth was 19. Once this had been selected on the back of the lights we were able to control them with the DMX board. I really enjoyed doing this, as I'd never done it before and I'm surprised at how much I learned in such a small amount of time. Below I have added some pictures of my group with the LED Par Cams.
One final thing that causes problems is tripping up over wires. You need to think about where your wires are and make sure they have safe cable runs. If you're going to have your wires trailing right across the floor for long periods of time, it's best to tape the wires down so then no one will trip. Sometimes the shortest route to power is the most inconvenient as it won't be the neatest, so its best to take the longest route (going around the edge of the room with wires).
The next thing we looked at were the types of lights in the studio. The first lights we looked at were called LED Par Cams, these are very low power so they have a cool operation which means they don't generate much heat. This is a good thing, as if you are spending a long time in the studio you don't want to overheat from working under boiling hot lights. These lights are also RGB colour changeable DMX, what this means is that they can change colours digitally via a DMX cable which is linked to a computer.
The second lights we looked at were the LED Panels (which are also known as TVLs) these lights are low power like the LED Par Cams, so they also have a cool operation. These lights can also be battery operated which is very useful if you are wanting to use them in a location that doesn't have a mains power supply. The lights are Bi-colour changeable DMX which means that they switch between white daylight and yellow inside light. They produce a very soft light which can be made even softer by applying gels over the lights. What a soft light means is that the shadows that it casts are very soft, unlike those of a Fresnel light which I am moving onto next.
The Fresnel lights are very high power lights- you can actually hear the buzzing from the resistor. These lights operate very hot, so if you're using these in a small space, you will find that the room heats up very fast. These kinds of lights are your traditional theater lights. They're semi focusable with medium/ hard light. This means that the shadows cast by these lights can be very sharp and defined. The brightness of the lights can be changed via DMX.
Finally, we looked at Jr Profile Spot lights. These are similar to the Fresnel lights as they are high power, hot in operation and are dimable via DMX. however these lights only have a hard light, so the shadows cast will be very sharp. You can adjust the lights so that you can change the focus, what I mean here is that you can have a large spot of light or a tiny spot if you alter the filters on the light.
Once we had gone through how each light works and had seen it in action, we went off in groups to connect four LED Par Cams via daisy chain DMX. what this was, was linking the wires from input to output to make sure that all four lights were linked together. We then had to put power cables into the input ports on all of the lights so that they had power. You can do the same daisy chain technique with power, however we just didn't have the right cables at the time. On the back of the lights we had to program them so that they could be controlled by the DMX board so that we could change the colour and brightness and such. We had to select the 'D' mode (for DMX), and then we had to number them. On the DMX board you can only go up in sixes, so the first light was number 1, the second was 7, the third was 13 and the fourth was 19. Once this had been selected on the back of the lights we were able to control them with the DMX board. I really enjoyed doing this, as I'd never done it before and I'm surprised at how much I learned in such a small amount of time. Below I have added some pictures of my group with the LED Par Cams.
 |  |
| The next thing we went on to do was having a play around with the DMX board. Each channel on the board controls a setting for each light. These setting include: colour (red, green and blue), dimmer and strobe. The simmer must be turned up in order for the lights to come on, as it is sort of like brightness, so if it's all the way down at the bottom, the light won't be seen. The more channels you have, the more settings you can have. It was really cool moving all the switches and watching the lights change colour and flash and such. The software we were using was extremely basic which is why it had so few channels. On a more advanced software there would be loads of channels, and the more channels you have, the more settings you can have for the lights. Below I have added a picture of what the DMX board looks like. | 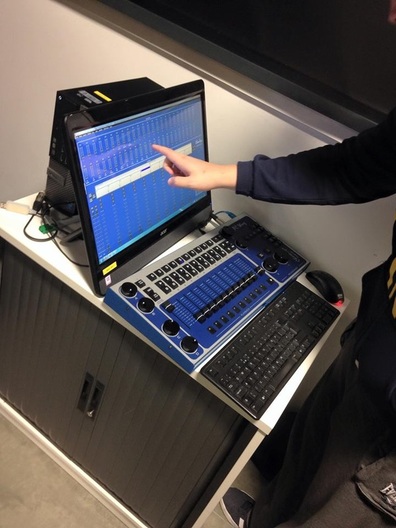 |
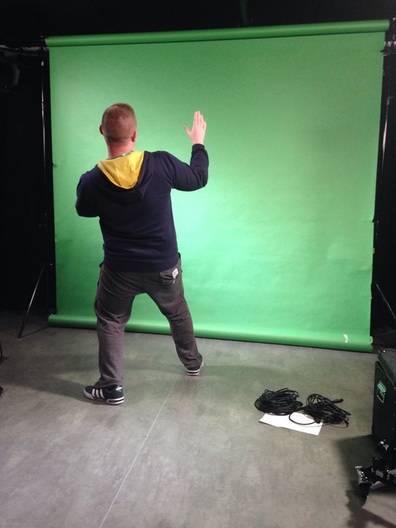 | To finish off our induction to lighting, we had a brief run through of how to light and use a green screen. When lighting a green screen instead of using three point lighting (one in front, one to the side and one behind) you have all the lights facing onto the screen, as if you used a backlight it would create a glare on the camera. When lighting a green screen you have to be wary of hot spots which are areas of light on the screen that make patches greener/ brighter than other parts. These hot spots will cause major problems when keying the recording. To get rid of the hot spots you have to angle the lights to try and spread out the light better, you can also use a gel to make the light softer. Shadows can also be a problem, however there's one easy trick to get rid of them, which is to move your subject further away from the green screen. We were also told a very handy tip for when you are recording the green screen; instead of having the camera landscape, you have it portrait, because when you edit the footage you will be cropping it anyways, so by using the camera in portrait you are making life easier for yourself and you're also retaining quality. To the left, I have added a picture of Kieran standing in front of the green screen. |
 RSS Feed
